
How to Install WordPress on 000WebHost Free Hosting-:
 000WebHost free web hosting allows you to set up a website with lots of limitations but one of its biggest limitations is that your website will be temporarily offline or down for an hour every day. However, you can choose a downtime for your site. Here we have prepared a step-by-step guide with screenshots to install WordPress on 000WebHost Free Hosting.
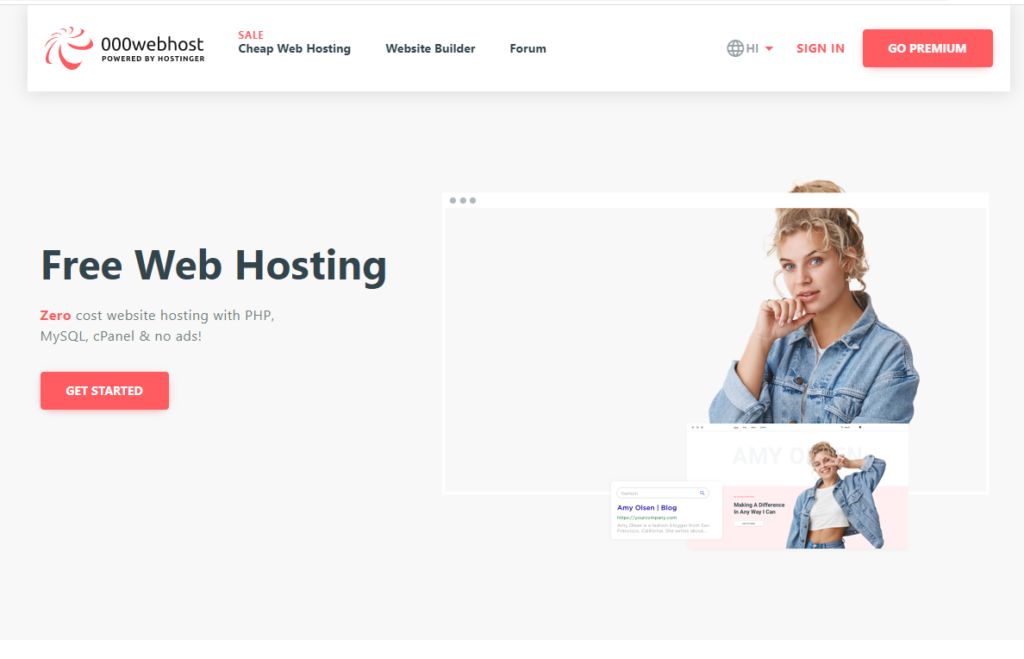
1. First, visit 000Webhost and click on the Sign Up for Free button to create a new account on it.
2. Now a new page will open in front of you, here you enter your email, password and website name and then click on Get Free hosting.
3. After this, it will show you a welcome message and ask for an intro tutorial. You can skip it by clicking I’m pro.
4. Now, scroll down and click on Manage website.
5. Here you will get three options, click on the “Build WordPress Website” option to start the WordPress installation.
6. After clicking on it, a new WordPress Install Popup will open in front of you. Here you have to enter your username, password and select the URL & language for your WordPress blog then click on the Install button.
7. Now the installation process will start and in a minute your WordPress blog will be installed on 000WebHost Free Hosting.
8. After the installation is complete, it will give you a congratulation message with a Go to Configuration page link, clicking on it will take you to the login page of your WordPress blog. Now your WordPress blog is ready. You can log into it using your username and password.
After setup your website on 000WebHost Free Hosting, you can choose the downtime for your WordPress blog. First, go to the Dashboard of 000WebHost and click on Settings >> General. Now go to the website sleeping time frame and set the start hour. Here I entered 2 and clicked on the update button. Now my site will be offline / Downtime between 2:00 to 3:00. You can comment for any kind of question or suggestion related to this article.
If you like my work, Please Share on Social Media! You can Follow WP knol on Facebook, Twitter, Pinterest and YouTube for latest updates. You may Subscribe to WP Knol Newsletter to get latest updates via Email. You May also Continue Reading my Recent Posts Which Might Interest You.